目录
官方文档
https://develop.sentry.dev/self-hosted/
部署流程
获取docker镜像
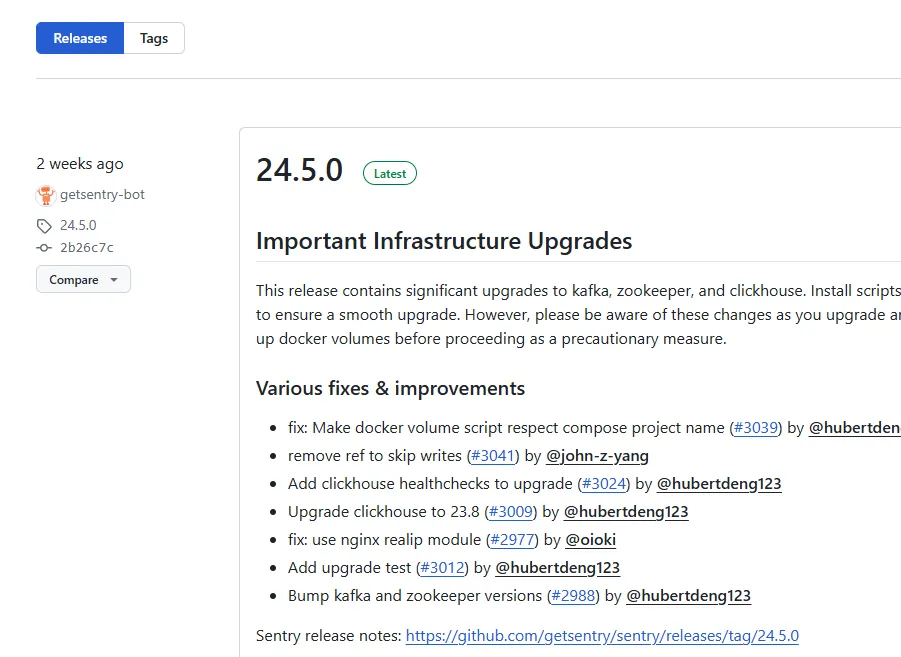
在官方私有化部署的docker项目仓库中,找到指定版本,并下载。官方推荐使用最新的版本
注意
这里不要直接使用master分支,应该下载最新的release版本,保证稳定性
https://github.com/getsentry/self-hosted/releases
更新dockerfile sources.list镜像源
下载后在项目下执行 install.sh,执行后,会自动构建Sentry的docker镜像。
但是,该过程会进行apt-get,在国内的网络环境是存在困难的,所以这里需要配置apt-get镜像源
- 修改文件 jq/Dockerfile
FROM debian:bookworm-slim

LABEL MAINTAINER="oss@sentry.io"

RUN set -x \
# 更改 sources.list 为国内阿里镜像源
  && echo "deb http://mirrors.aliyun.com/debian  stable main contrib non-free" > /etc/apt/sources.list  \
  && echo "deb http://mirrors.aliyun.com/debian  stable-updates main contrib non-free" >> /etc/apt/sources.list  \
  && apt-get update -y \
  && DEBIAN_FRONTEND=noninteractive apt-get install -y --no-install-recommends jq \
  && apt-get clean \
  && rm -rf /var/lib/apt/lists/*

ENTRYPOINT ["jq"]
- 修改 corn/Dockerfile
ARG BASE_IMAGE
FROM ${BASE_IMAGE}
USER 0
RUN if [ -z "${http_proxy}" ]; then echo "Acquire::http::proxy \"${http_proxy}\";" >> /etc/apt/apt.conf; fi
RUN if [ -z "${https_proxy}" ]; then echo "Acquire::https::proxy \"${https_proxy}\";" >> /etc/apt/apt.conf; fi
# 更改 sources.list 为国内阿里镜像源
RUN echo "deb http://mirrors.aliyun.com/debian  stable main contrib non-free" > /etc/apt/sources.list  \
  && echo "deb http://mirrors.aliyun.com/debian  stable-updates main contrib non-free" >> /etc/apt/sources.list  \
  && echo "deb https://mirrors.aliyun.com/debian/ bookworm main non-free non-free-firmware contrib" >> /etc/apt/sources.list  \
  && echo "deb-src https://mirrors.aliyun.com/debian/ bookworm main non-free non-free-firmware contrib" >> /etc/apt/sources.list  \
  && echo "deb https://mirrors.aliyun.com/debian-security/ bookworm-security main" >> /etc/apt/sources.list  \
  && echo "deb-src https://mirrors.aliyun.com/debian-security/ bookworm-security main" >> /etc/apt/sources.list  \
  && echo "deb https://mirrors.aliyun.com/debian/ bookworm-updates main non-free non-free-firmware contrib" >> /etc/apt/sources.list  \
  && echo "deb-src https://mirrors.aliyun.com/debian/ bookworm-updates main non-free non-free-firmware contrib" >> /etc/apt/sources.list  \
  && echo "deb https://mirrors.aliyun.com/debian/ bookworm-backports main non-free non-free-firmware contrib" >> /etc/apt/sources.list  \
  && echo "deb-src https://mirrors.aliyun.com/debian/ bookworm-backports main non-free non-free-firmware contrib" >> /etc/apt/sources.list  \
    && apt-get update && apt-get install -y --no-install-recommends cron && \
    rm -r /var/lib/apt/lists/*
COPY entrypoint.sh /entrypoint.sh
ENTRYPOINT ["/entrypoint.sh"]
修改运行脚本
install//install-wal2json.sh 中会从 github中下载文件
如果你的服务器和github访问不稳定,需要修改该下载地址
可以使用开源的gitee仓库,或自己搭建一个容易访问的仓库

# 使用gitee仓库加速

  docker_curl -L \
    "https://gitee.com/li-jia-dong/wal2json/releases/download/$VERSION/$FILE_NAME" \
    >"$WAL2JSON_DIR/$VERSION/$FILE_NAME"
开始部署
以上内容都确认过后,就可以开始部署了
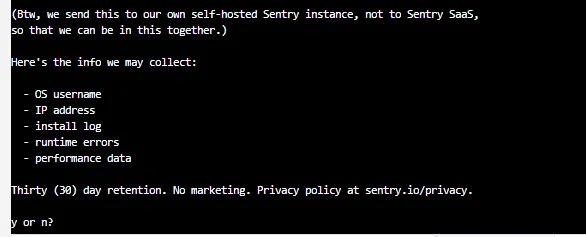
部署过程中,会有几次交互
-
是否愿意发送使用数据,一般选 no
-
是否要现在创建一个账号

提示
创建账号步骤,填写邮箱后,会等待用户输入密码,看到这里,填写密码回车才能继续

服务启动
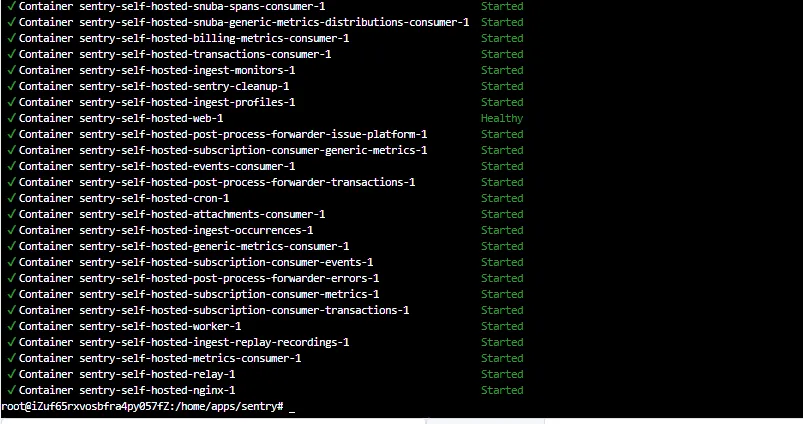
看到最终提示该内容,说明部署完成

根据提示执行
docker compose up -d 即可
过程中会启动极其多的容器,确保全部完成即可
警告
一定注意自己的机器配置。
Sentry官方说最低系统要求是 2C 4G,完全不够
docker compose的过程,对CPU 和内存要求都高
实测完成创建所有容器,不接入任何业务的情况,所有Sentry容器占用内存8G左右
所以机器配置至少16G,否则无法完成所有容器创建
访问Sentry
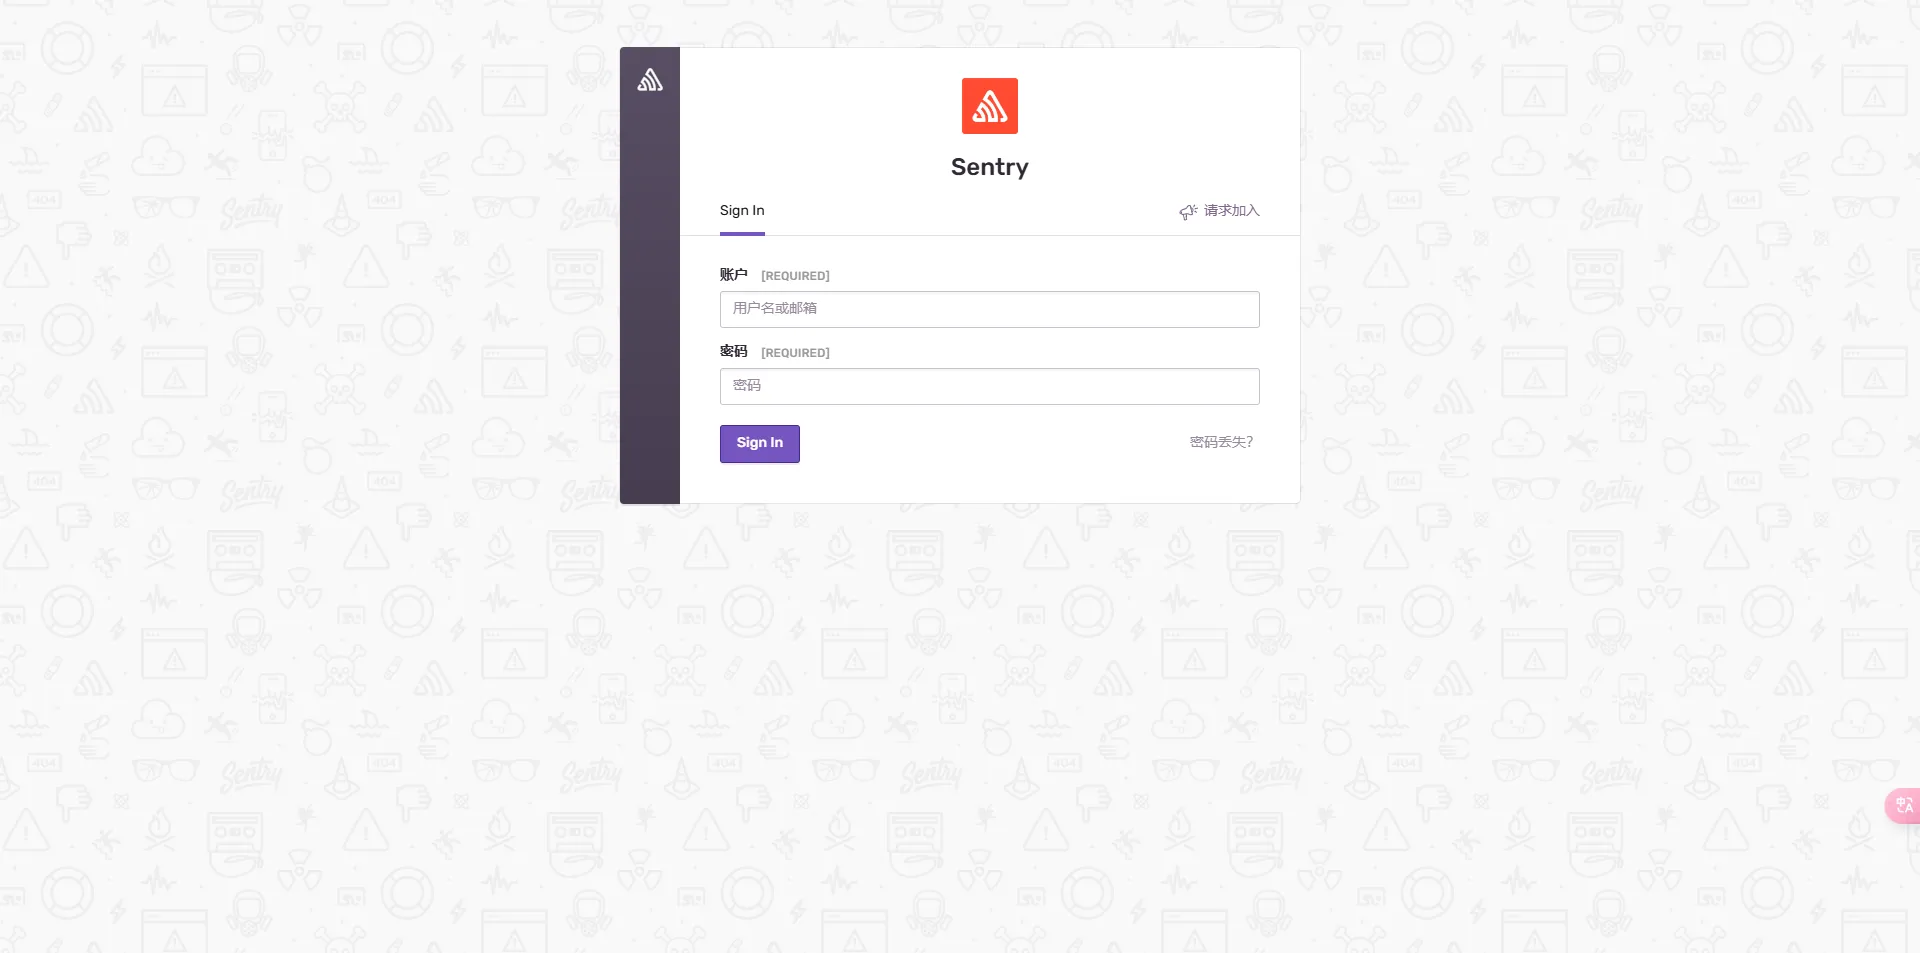
完成容器创建后,直接访问 http://${ip}:9000 就能访问 Sentry 的 web页面了。
填写刚才输入的邮箱和密码就可以进入使用了
如果登录后提示CSRF 错误
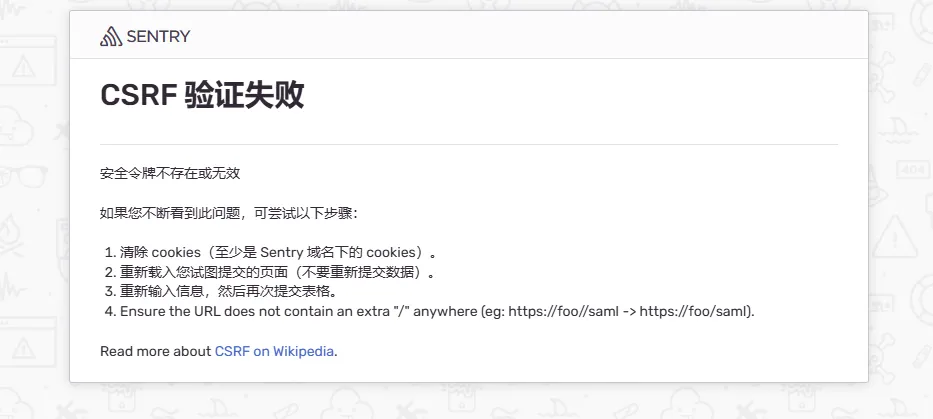
需要在 sentry.conf.py中修改 CSRF_TRUSTED_ORIGINS
注意: 这里必须带上 http://
# 填写可以访问Sentry服务的ip,添加Sentry服务器的ip,被监控服务的ip.
你的Sentry 运行在什么域名下的什么地址,就填什么
CSRF_TRUSTED_ORIGINS = ["https://sentry.example.com", "http://10.100.10.10", "http://127.0.0.1:9000"]
修改后无需 docker compose down
直接运行install即可
./install.sh
运行时会直接重建相关的docker容器
私有化部署常见问题解决方案
本文作者:Silon汐冷
本文链接:
版权声明:本博客所有文章除特别声明外,均采用 BY-NC-SA 许可协议。转载请注明出处!
